4 minutes
Running Ollama AI in Your Homelab

Ollama
Ollama is a platform designed to run AI models locally. It offers a streamlined experience for deploying and managing AI applications without requiring extensive cloud resources. Ollama supports a variety of models and provides tools for easy integrations and monitoring.
Ollama installation
Starting out, we will be installing this into an Ubuntu virtual server. I am running Ubuntu server 22.04 on my local Proxmox server. once you have your base Ubuntu server ready to go, installing Ollama is super simple, we will just follow the Download instructions found on https://ollama.com/.
curl -fsSL https://ollama.com/install.sh | sh
Once Ollama is installed we need to pull a model to use. I am going to use llama3 for this example but you can find many more listed here https://ollama.com/library
ollama pull llama3
Once the model finishes pulling you can run the model with the following command.
ollama run llama3
You should get an output asking you to send a message like this.

From here you can treat this like a local CLI version of chatGPT or any other AI you may have used previously. I asked llama3 to tell me a fun fact about the Roman Empire, heres what it returned.

If you want to only utilize Ollama from the CLI, you are done and can stop here, but if you want a nicer user experience or to provide this local AI to other users, it would be much easier to do so with a web interface!
Open webui installation
The web interface we are going to be utilizing is a great open source tool called Open webui This runs on the same server as our Ollama instance, and infact calls to it and utilizes the models you have pulled down. We will be utilizing the recommended option of a Docker instance and following the information found hin the open webui documentation.
https://docs.openwebui.com/getting-started/
But, before we can start with the Open Webui installation, we need to install Docker. Docker has a nice set of documentation as well walking us through removing old conflicting packages, to installing the latest version of Docker in our Ubuntu server.
https://docs.docker.com/engine/install/ubuntu/
To remove all conflicting out of date packages, we will run the following command.
for pkg in docker.io docker-doc docker-compose docker-compose-v2 podman-docker containerd runc; do sudo apt-get remove $pkg; done
after that is finished running we need to set up Docker’s apt repository and add it into our apt sources.
# Add Docker's official GPG key:
sudo apt-get update
sudo apt-get install ca-certificates curl
sudo install -m 0755 -d /etc/apt/keyrings
sudo curl -fsSL https://download.docker.com/linux/ubuntu/gpg -o /etc/apt/keyrings/docker.asc
sudo chmod a+r /etc/apt/keyrings/docker.asc

# Add the repository to Apt sources:
echo \
  "deb [arch=$(dpkg --print-architecture) signed-by=/etc/apt/keyrings/docker.asc] https://download.docker.com/linux/ubuntu \
  $(. /etc/os-release && echo "$VERSION_CODENAME") stable" | \
  sudo tee /etc/apt/sources.list.d/docker.list > /dev/null
sudo apt-get update
Once you have the Docker apt repository added into your apt source, you can install the latest version of Docker.
sudo apt-get install docker-ce docker-ce-cli containerd.io docker-buildx-plugin docker-compose-plugin
After Docker finishes installing you can run this command to verify it is working as expected. This command downloads a test image and runs it in a container. When the container runs, it will print a confirmation message and then exit.
sudo docker run hello-world
Now that we have Docker’s latest version installed on our Ubuntu server and confirmed it is functioning, we can proceed with the Open webui documentation. This should be relativeley quick as we are running Open webui on the same server as Ollama. We will be utilizing their recommended command to deploy the docker container to port 8080.
docker run -d -p 3000:8080 --add-host=host.docker.internal:host-gateway -v open-webui:/app/backend/data --name open-webui --restart always ghcr.io/open-webui/open-webui:main
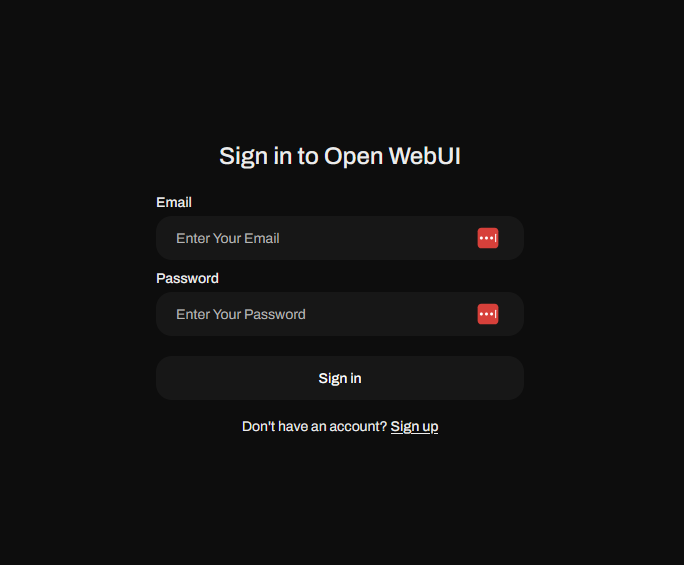
Once this is running you should be able to reach your new Open webui Interface by browsing to your server IP port 8080 and be greeted with the Open webui login screen.

Since this is your first time connecting to Open webui you will need to create a user account. The good news is that the first account created on the Open webui instance is the admin account. Also no data will leave your server, This is all explained in their FAQ.

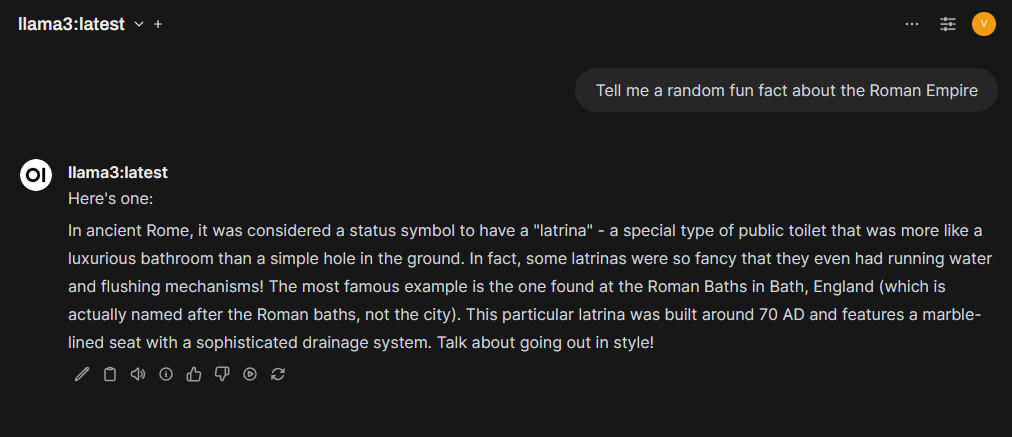
I will ask the same example question on the web interface that we used for the CLI test. Lets learn another fun fact about the Roman Empire!

Final Thoughts
As you explore the web interface, you’ll notice a wealth of options at your disposal. I encourage you to experiment and learn what each feature does. The flexibility and customization options can significantly enhance your user experience. Additionally, take the time to explore the Ollama library. It offers a variety of models, each with unique capabilities. Trying out different models can help you find the perfect fit for your specific needs. Embrace this opportunity to expand your knowledge and creativity with your new AI setup!